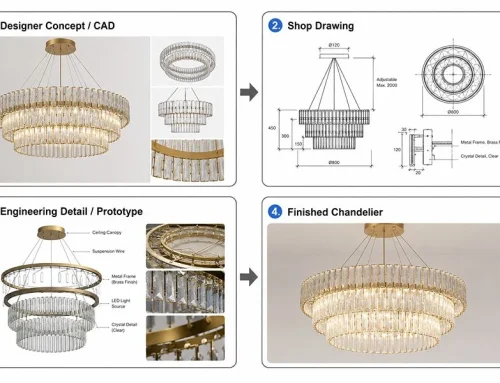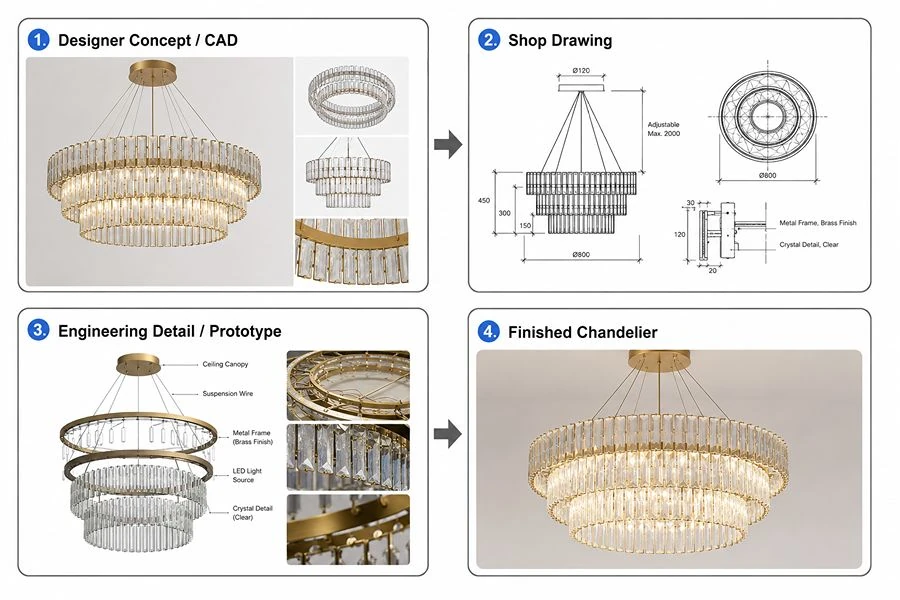
Decorative lighting samples provide the physical basis for verifying design accuracy, materials and surface finishes, electrical performance, installation structure, and packaging and transportation before mass production. For newly developed products, hotel projects, and complex custom lighting fixtures, a solution that appears feasible on drawings may still reveal issues after prototyping, such as assembly clearances, driver space limitations, surface color variation, dimming compatibility, or on-site installation challenges.
This article explains which projects should undergo prototyping first, what a sample should verify, how to evaluate sample quality, and which specifications and documents must be frozen after sample approval. It also uses real project cases to show how to prevent inconsistencies between approved samples and mass production.
1. Why Decorative Lighting Projects Require Prototyping
Before discussing the sample approval process, it is important to identify which projects require prototyping and determine the key items that must be verified during the sample stage.
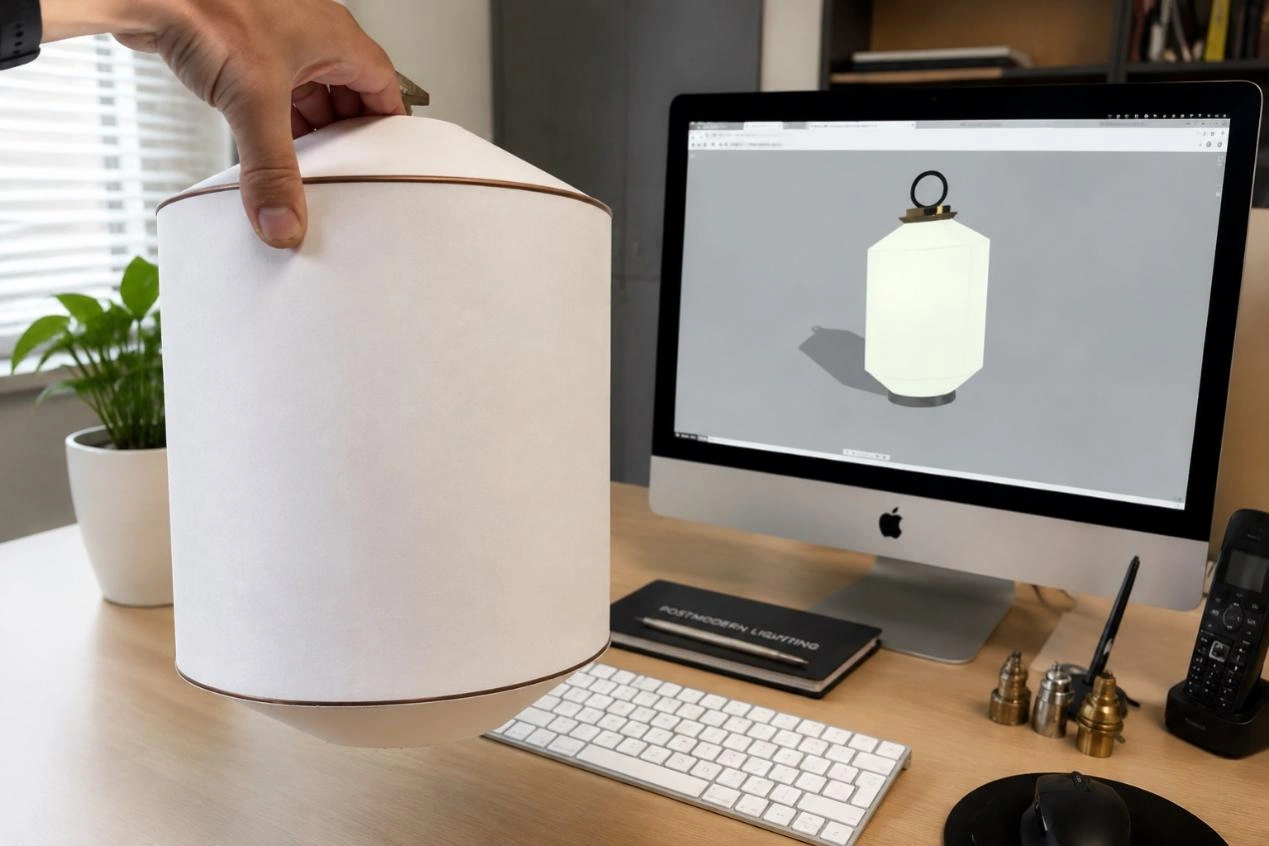
Lighting Fixture Prototyping
1) Which Projects Should Be Prototyped First?
For standard products with fixed specifications and long-term mass production, manufacturing can usually proceed directly as long as the materials, electrical configuration, and production process remain unchanged. However, when a project involves new product development, structural modifications, material changes, or custom engineering requirements, sample approval should be completed before mass production. In general, the following project types are recommended for prototyping first.
| Project Type | Prototype Recommended | Primary Purpose |
| Standard mass-produced products | Depends on the project | Mature manufacturing process with proven production experience |
| Modified dimensions or proportions | Recommended | Verify structural design and installation dimensions |
| Material or surface finish changes | Recommended | Confirm color, texture, and finishing quality |
| Newly developed products | Required | Validate design and manufacturing feasibility |
| Hotel and commercial custom projects | Strongly recommended | Reduce the risk of large-scale rework |
2) What Can a Prototype Verify?
A prototype verifies whether the complete product is ready for mass production and whether it is suitable for manufacturing, installation, and long-term maintenance. From a manufacturing perspective, the sample primarily validates five aspects: design accuracy, manufacturing process, structural assembly, electrical performance, and packaging and transportation. This includes checking dimensional deviations, assembly clearances, surface finish quality, light uniformity, dimming compatibility, load-bearing capacity, safety retention, and on-site installation compatibility.
For example, the design specifies a 3 mm assembly clearance between the glass and the metal frame. After the prototype is produced, normal dimensional variation in the blown glass may prevent proper assembly. In another case, the LED driver operates correctly but cannot fit inside the ceiling canopy during installation, making a redesign of the upper structure necessary. If these issues are identified during prototyping, only one sample requires modification. If they are discovered after mass production begins, the entire order may require rework.
3) How Does Sample Approval Reduce Mass Production Risks?
The purpose of sample approval is to resolve all issues that may cause disputes before mass production begins, rather than making changes during production. For engineering projects, once the sample receives approval, it becomes the quality benchmark for all subsequent production. Product dimensions, materials, surface finishes, light source configuration, lighting effect, and installation method should all remain consistent with the approved sample.
Sample approval establishes three key references for mass production. First, it locks the materials, manufacturing process, light source, and driver configuration. Second, it defines acceptable tolerances for dimensions, color variation, assembly clearances, and lighting performance. Third, it creates a mutually accepted inspection standard for both the supplier and the customer. The approved sample and its supporting documents serve as the reference for production inspection, delivery acceptance, and quality dispute resolution throughout the project.
2. What Should Be Verified During Decorative Lighting Sample Evaluation?
For custom decorative lighting fixtures, verify product dimensions, materials and workmanship, lighting performance, installation methods, and maintenance accessibility at the same time. Only after all of these critical items meet the project requirements can the approved sample serve as the basis for mass production.
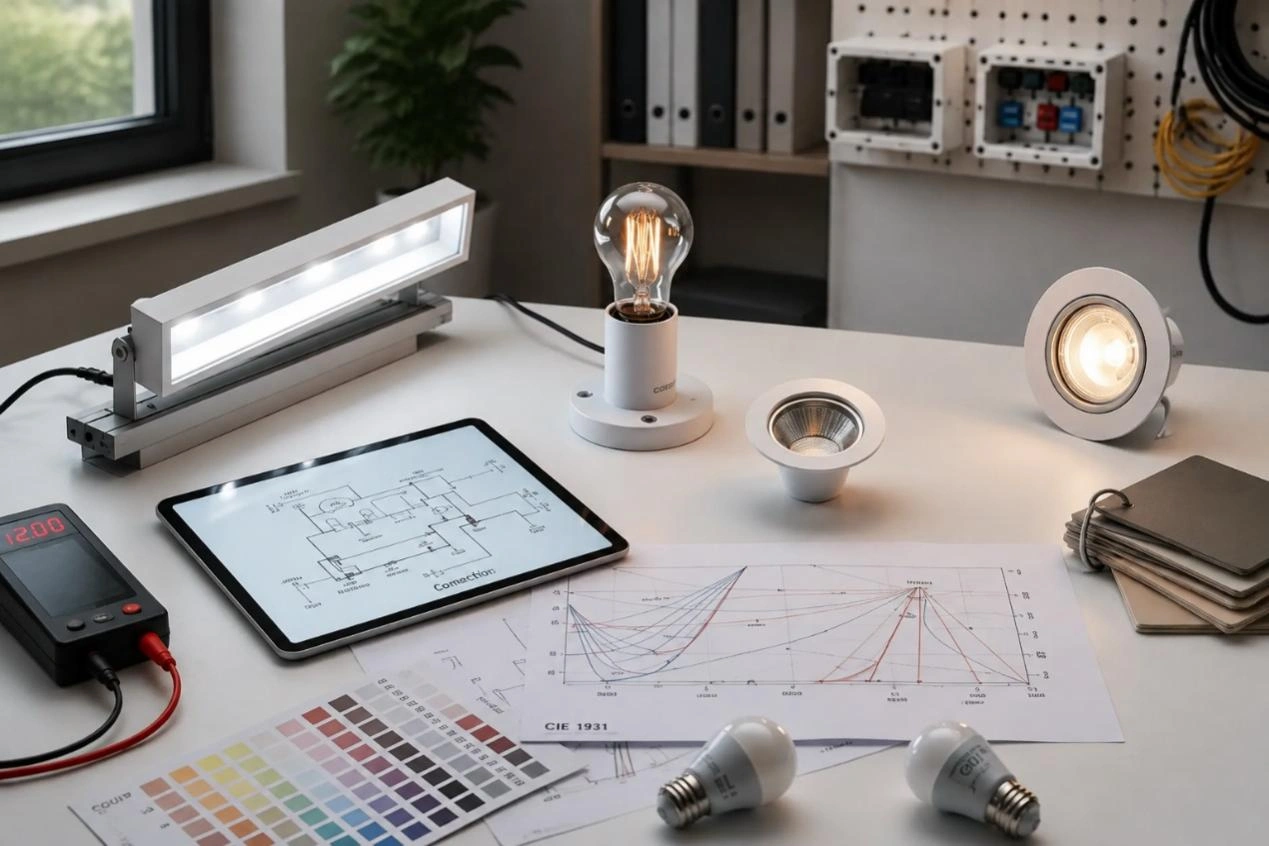
Lighting Fixture Sample Verification
1) Appearance and Dimensions
Appearance verification focuses on confirming that the finished product accurately reproduces the intended design, proportions, curves, and overall symmetry, ensuring the physical fixture matches the design rendering. Dimensional verification should use measuring tools such as calipers and tape measures to inspect overall length, width, height, curve radius, and mounting hole spacing while keeping all tolerances within specification.
Postmodern Lighting defines dimensional tolerances according to part size and manufacturing method. For example, standard dimensions for small and medium-sized metal components are typically controlled within ±1 mm, precision assembly parts within 0.5 mm, and CNC-machined mounting holes within 0.3 mm. Larger welded structures, hand-blown glass, and natural materials require individually specified allowable tolerances.
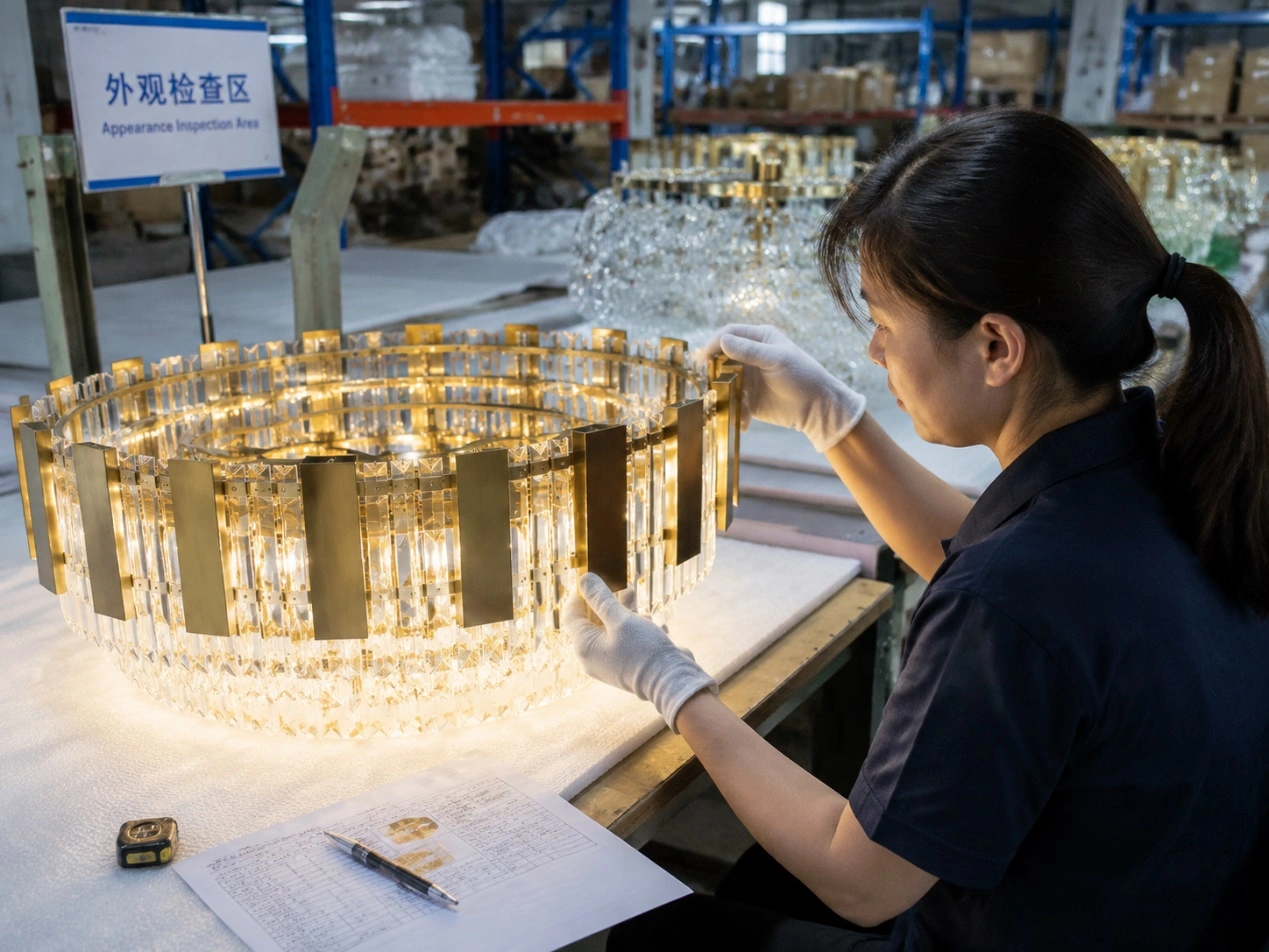
Appearance Inspection
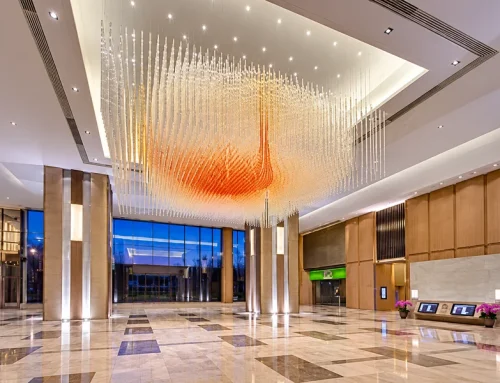
For example, a lobby chandelier may be manufactured exactly to the drawing dimensions, but if the suspension rod proportion is too short, the installed fixture can appear visually too low compared with the space rendering. The product itself may have no quality defect, but the structural proportions still need to be adjusted.
2) Materials and Surface Finishes
During the sample stage, confirm the actual materials to be used for production rather than checking only whether the color appears close. Verify that the specified material grades match the physical components: distinguish between 201, 304, and 316L stainless steel; standard glass and low-iron extra-clear glass; and confirm whether metal structures use sheet, tube, profile, or solid sections, including the actual wall thickness and cross-sectional dimensions. For surface finishes, verify the color, texture, gloss, and uniformity of paint, powder coating, electroplating, PVD, or PVDF fluorocarbon coating, and inspect for pinholes, orange peel, powder loss, scratches, and localized color variation.
For example, if the specification requires “Brushed Brass,” different manufacturers may use brushed solid brass, brushed brass electroplating, or brushed PVD, producing noticeably different colors and textures. Natural marble may meet the material specification, but each slab will still have natural pattern variation. The acceptable range should therefore be confirmed during the sample stage rather than disputed after mass production.
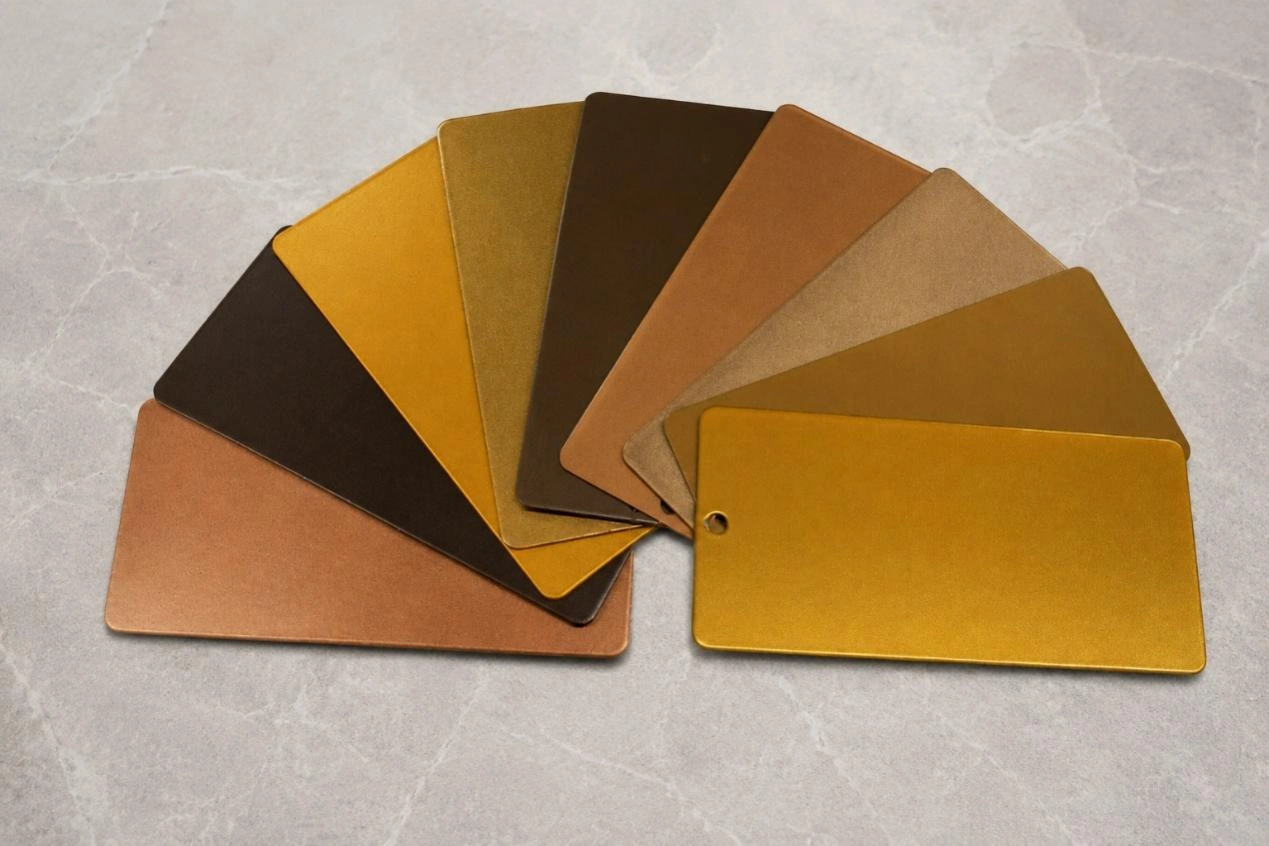
Material Surface Finish
3) Light Source Effect and Lighting Performance
Light source verification should cover more than color temperature and brightness. It should also confirm light uniformity, glare control, color rendering, and dimming performance. Many fixtures perform well under factory or laboratory conditions but produce a very different lighting effect once installed in the actual space.
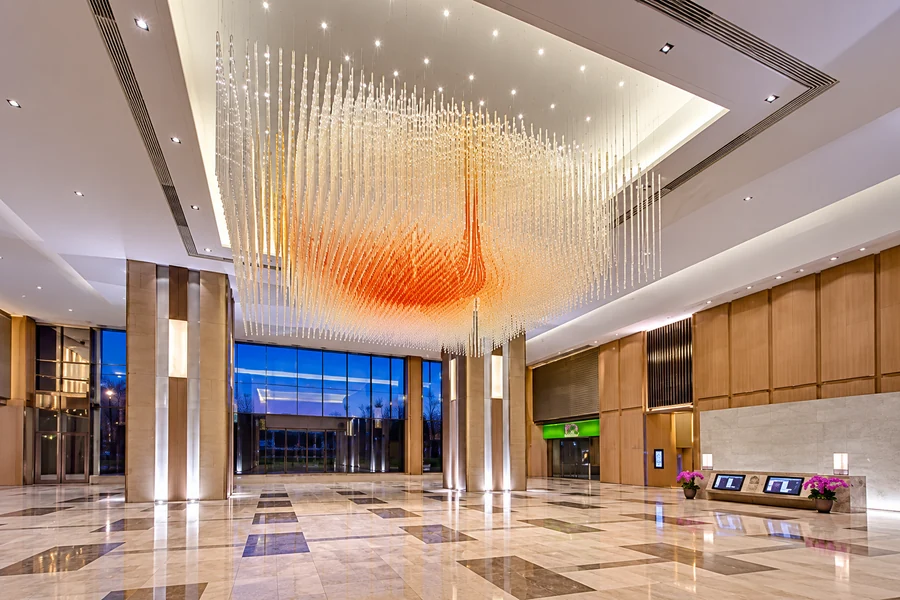
For example, a hotel lobby chandelier sample may use a 3000K LED and provide sufficient brightness during factory testing. After installation in an 8 m-high lobby, however, the illuminance may be clearly insufficient, requiring a higher lumen output and a revised driver configuration. For engineering projects, testing should therefore simulate the actual installation height and environment as closely as possible.
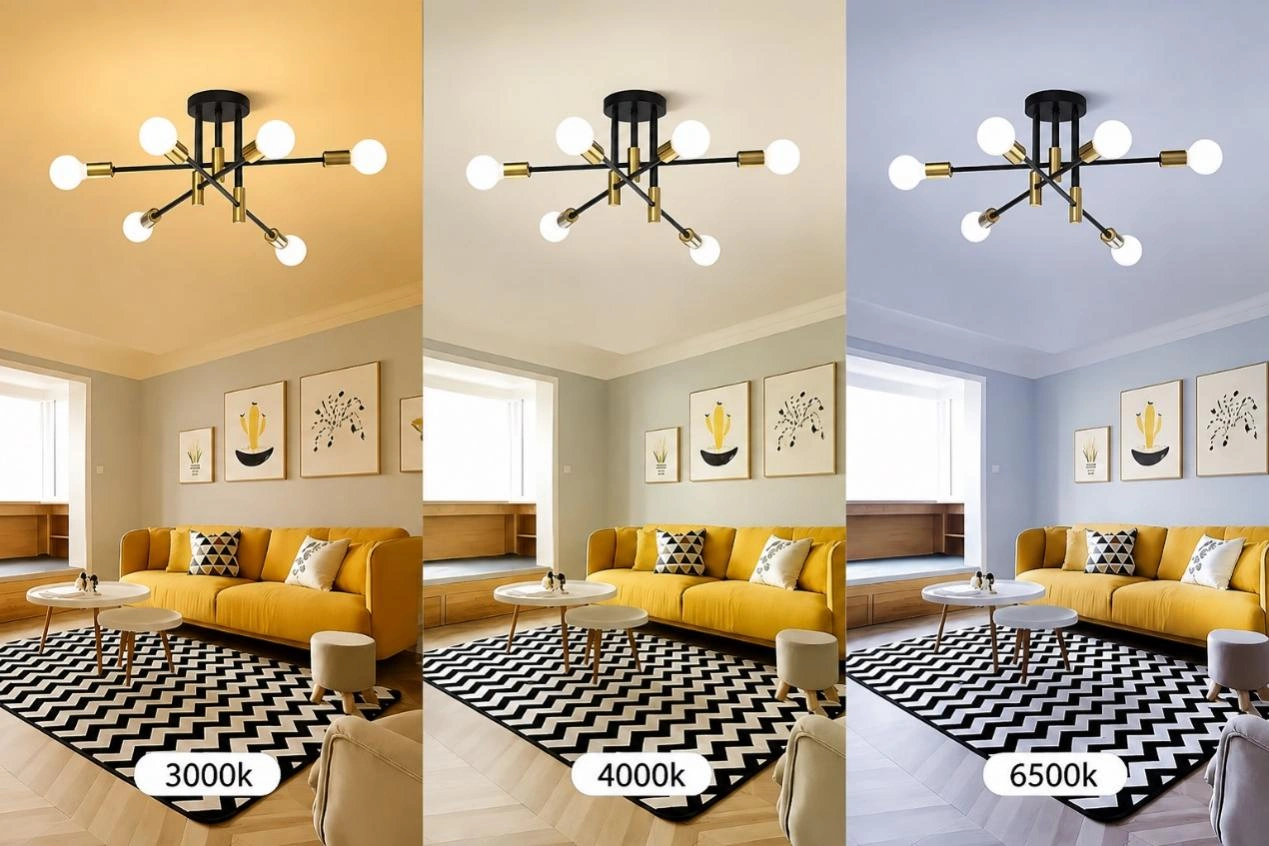
Light Source Effect Comparison
4) Structure, Installation, and Maintenance
In addition to the product itself, the sample should verify whether installation is practical and whether future maintenance can be carried out efficiently. Structural checks should focus on sectional assembly, opening clearances, cable routing, and heat dissipation space to prevent interference, difficult disassembly, or disorganized wiring. Installation verification should simulate the complete on-site process for suspended, ceiling-mounted, or wall-mounted fixtures and confirm compatibility with embedded mounting points, the adjustment range of suspension rods, and load-bearing stability.
For example, a chandelier sample may meet all appearance and lighting requirements, but if the driver can only be removed from the front of the ceiling canopy, maintenance would require taking down the entire fixture. After optimizing the sample, the driver can be relocated to an independent serviceable structure, maintaining the appearance while significantly improving future maintenance efficiency.
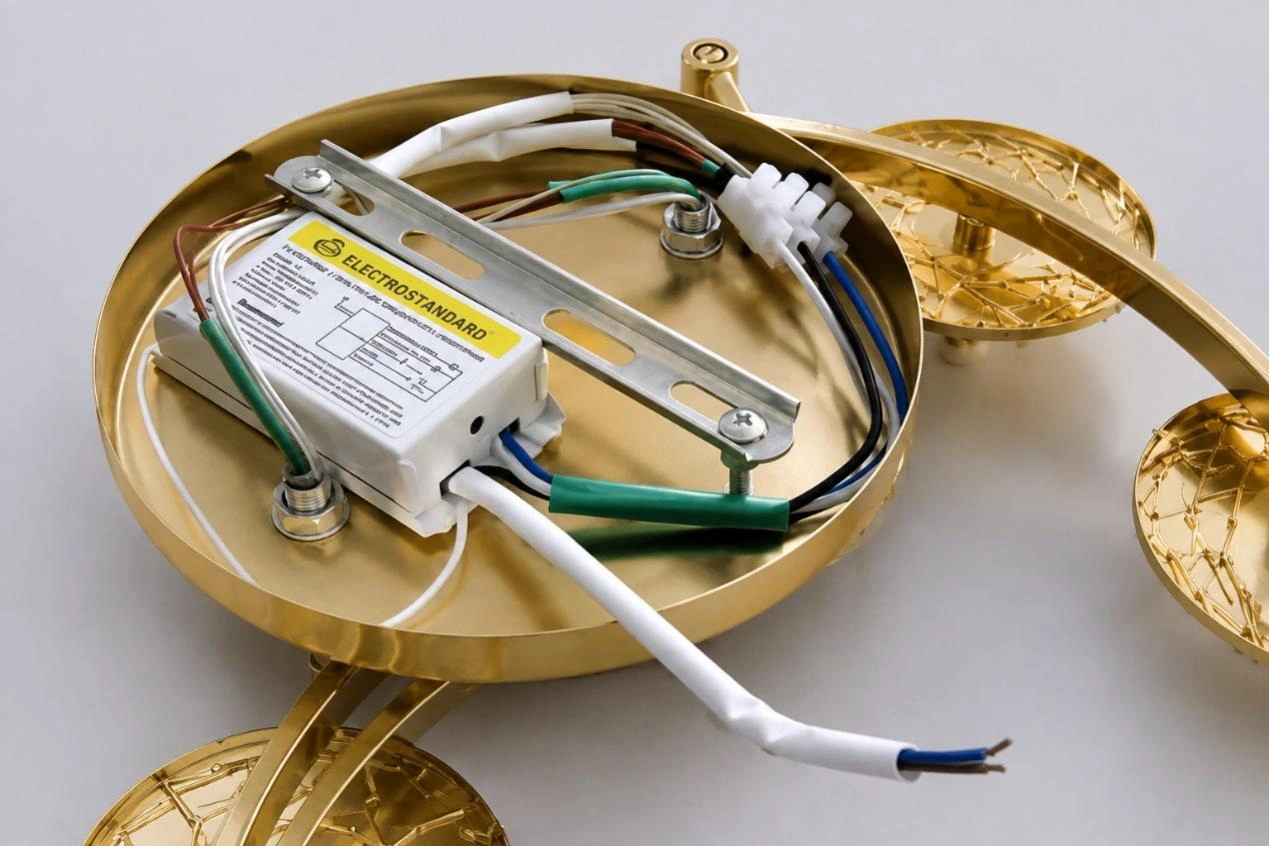
Lighting Fixture Installation Test
3. How to Evaluate the Quality of a Decorative Lighting Sample
In addition to appearance and dimensions, manufacturing workmanship, electrical performance, and packaging and transportation should all be verified against the final delivery standard. Only when the sample passes these inspections can it provide a reliable reference for subsequent mass production.
1) Appearance Quality Inspection
Appearance inspection is not only about whether the product looks acceptable. More importantly, it establishes the acceptance standard for mass production. Key inspection items should include overall proportions, color consistency, metal joints, welding positions, glass texture, crystal arrangement, and surface defects such as scratches, dents, pinholes, runs, and color variation. For products using natural stone, hand-blown glass, or similar natural materials, define the acceptable range of texture and color variation in advance so that natural material characteristics are not incorrectly treated as quality defects.
2) Manufacturing Workmanship Inspection
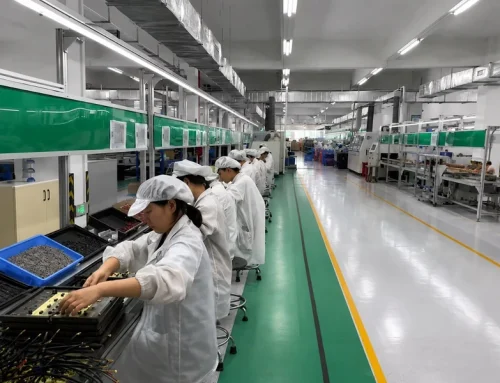
The sample shows whether the manufacturing process is mature and is an important basis for determining whether the product is suitable for mass production. During inspection, check whether welds are smooth, metal connections are secure, assembly gaps between components are uniform, moving structures operate smoothly, and all parts can be assembled and removed conveniently.
For large chandeliers, a simulated installation is also recommended to confirm whether the fixture segmentation is reasonable, the on-site installation sequence is clear, and individual modules can be replaced independently. Many projects skip installation verification during the sample stage and only discover after mass production that some parts cannot be installed or removed, leaving factory rework as the only solution.
3) Electrical and Functional Testing
The electrical review should record the input voltage, total fixture wattage, color temperature, color rendering index, driver model, and dimming protocol. Test start-up and shut-down, dimming synchronization, flicker, and abnormal noise at both rated output and the minimum dimming level required by the project.
For projects using control systems such as DALI, 0–10V, or Casambi, connect the sample directly to the specified control system during the sample stage instead of simply checking whether the fixture turns on. In actual projects, some incompatibility issues between drivers and control systems are only discovered during on-site commissioning, resulting in driver replacement and rework.
4) Packaging and Transportation Protection Verification
The sample stage should verify not only the product itself but also whether the packaging solution is suitable.
Check the packaging dimensions, cushioning materials, wooden crate structure, whether glass and crystal components are packed separately, and whether all parts are properly numbered. For export projects, also confirm that the packaging is suitable for air freight, sea freight, or full-container shipment, and assess whether the packages can be handled and installed efficiently on site. Large decorative chandeliers are usually packed in modules, with each component assigned a corresponding installation number to reduce assembly time and installation errors.
4. Common Problems During Sample Approval
Based on Postmodern Lighting’s previous project experience, the following issues are frequently overlooked during prototyping, can lead to losses in mass production, and often cause disputes between suppliers and customers. Corresponding solutions are provided below.
1) Approving the Sample Only Through Mobile Phone Photos, Without a Physical Approved Sample, Resulting in Uncontrolled Color Variation in Mass Production
Actual problem: The sample is approved through mobile phone photos or screen previews. However, differences in screen color temperature and brightness can cause both parties to interpret the color and texture differently. The sample may appear acceptable in photos, but once the production batch arrives, color and texture may not match expectations, leading to disputes over responsibility.
Solution: Mobile phone photos can support communication during development, but they should not serve as the sole basis for final color acceptance. Formal sample approval should use a physical sample and compare it under agreed lighting conditions. For uniform finishes such as spray coating and PVD, define an acceptable color-difference range. For hand-applied antique finishes and natural materials, acceptance should be based on the approved sample together with an agreed range of allowable texture variation.
2) One Fixture Looks Acceptable, but Multiple Fixtures Produce Uneven Light and Shadow Patterns
Actual problem: A single sample appears normal when powered on, with acceptable color temperature and brightness. After multiple fixtures are installed, however, the overall space shows obvious color patches and uneven brightness. A single-fixture test cannot reveal batch consistency, and in some cases the factory uses higher-grade light sources for the sample but standard light sources for mass production.
Engineering experience: For batch projects, produce or select 2–3 fixtures from the pilot production batch and illuminate them side by side. Compare color temperature, brightness, dimming synchronization, and consistency of light and shadow rather than judging the entire batch from a single fixture.
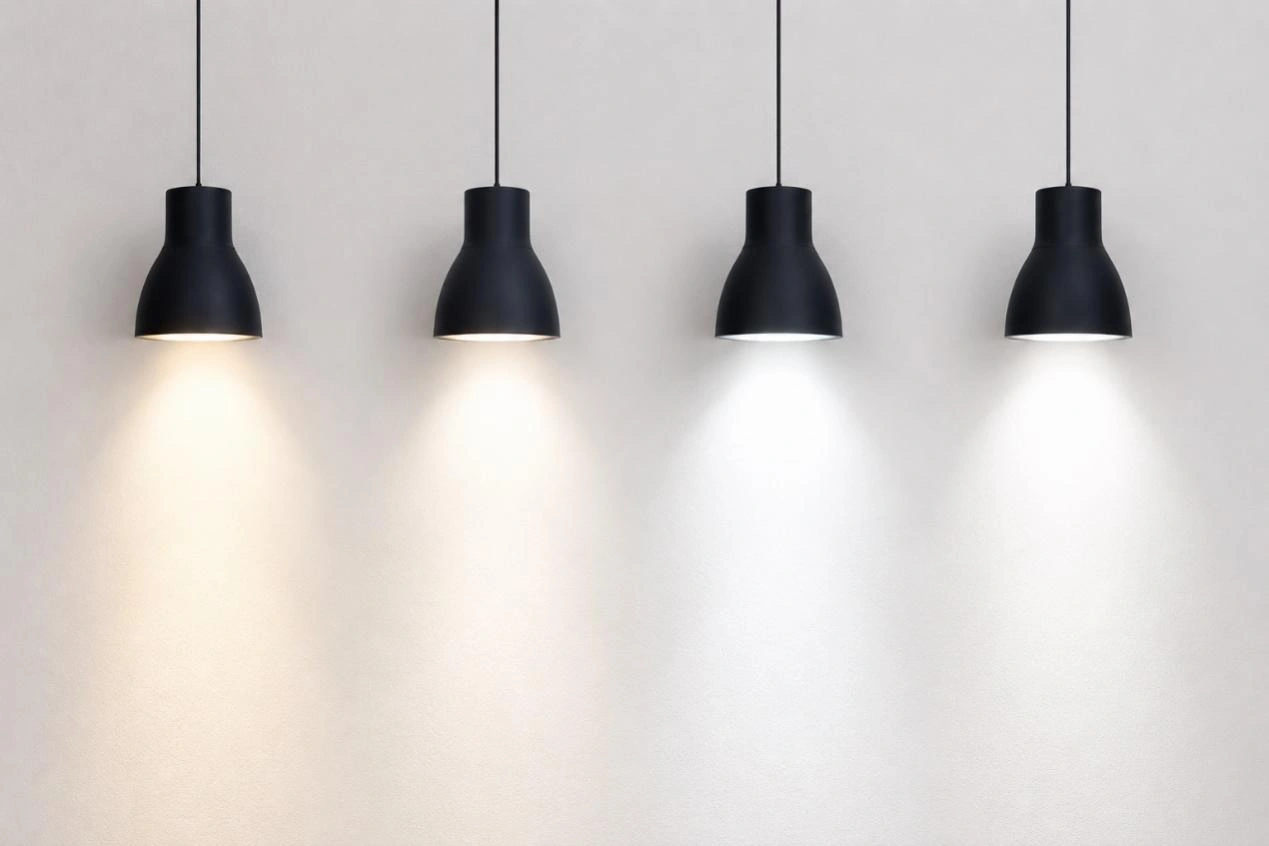
Lighting Consistency Comparison
3) Materials and Configurations Differ Between the Approved Sample and Mass Production
Actual problem: The material wall thickness, surface finish, LED, or driver used in the sample is not recorded in the final BOM. During mass production, other specifications or substitute brands are used, causing the structural strength, surface appearance, and lighting effect to differ from the approved sample.
Solution: The inspection report and final BOM should record the material grade, wall thickness, surface finishing system, LED parameters, and driver brand and model. Preserve the complete Golden Sample and retain key material swatches and disassembly photos. During production inspection, randomly select finished fixtures and verify their internal materials and electrical configuration.
4) Load-Bearing and Safety Retention Details Are Overlooked, Leaving the Sample Without Safety Verification
Actual problem: Some teams review only the appearance and lighting performance while overlooking the load-bearing capacity, safety retention structure, and compatibility with embedded supports for heavy fixtures. The sample may look good and function properly, but after mass installation it may not meet the required load capacity or may lack an independent safety cable.
Solution: During the sample stage, heavy chandeliers should be checked for total fixture weight, number of suspension points, load at each point, connection hardware, and independent safety retention. Complete a static load test in accordance with the project requirements or applicable standards. The project structural engineer should confirm the site-embedded supports and load-bearing structure.
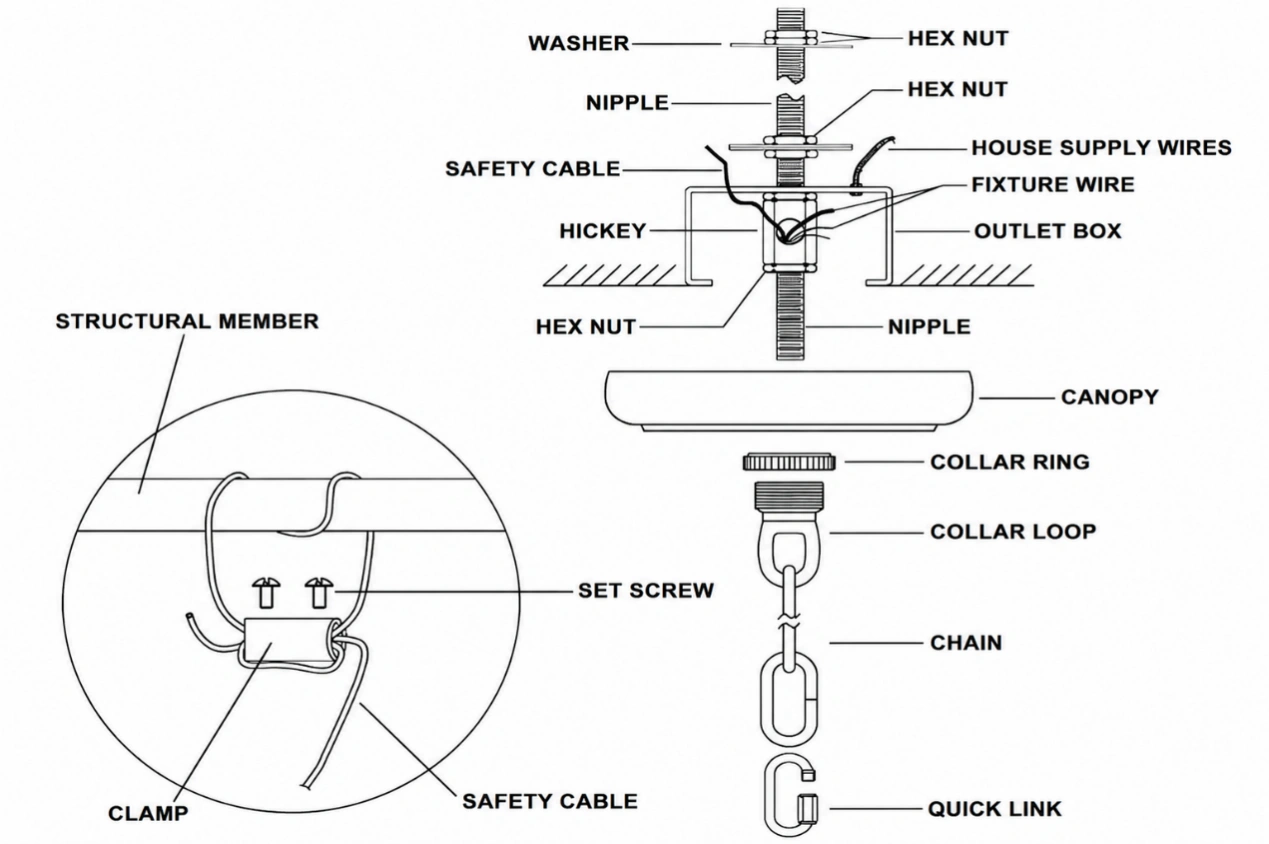
Lighting Fixture Safety Load-Bearing Design
5) Dimming Is Tested Only for Basic Adjustment, Without Verifying System Compatibility
Actual problem: The sample can dim normally when powered on, so it is considered acceptable without being connected to the actual project control system. After mass production, issues such as unstable dimming, intermittent dropouts, failed network connection, or unsynchronized brightness may occur.
Solution: Connect the sample to the same control system specified for the project. Within the driver’s rated dimming range, test start-up and shut-down, minimum brightness, scene switching, multi-fixture synchronization, and flicker performance. Approve the sample only after confirming compatibility between the controller, driver, and fixture configuration.
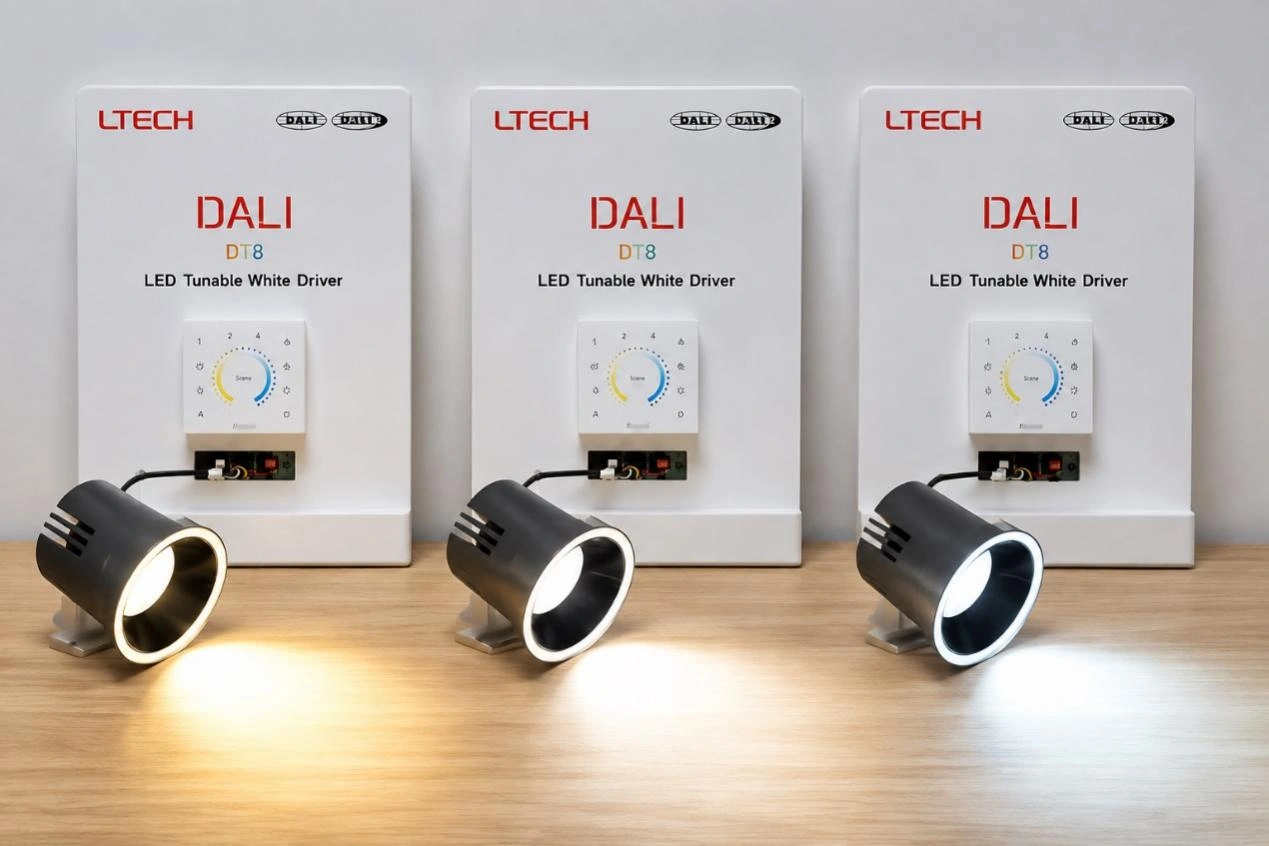
Lighting Fixture Compatibility Test
6) The Sample Dimensions Are Correct, but the Fixture Still Cannot Be Installed on Site
Actual problem: The sample review checks only the overall fixture dimensions but does not verify the ceiling canopy hole positions, embedded support locations, junction box dimensions, or suspension rod adjustment range. On site, the canopy may fail to cover the junction box, mounting holes may not align with embedded bolts, or the suspension rods may not accommodate the actual ceiling height.
Solution: During the sample stage, complete one simulated installation according to the site drawings. Focus on the ceiling canopy dimensions, hole positions, suspension points, junction box, installation clearance, and adjustment range. Once the installation structure is confirmed, incorporate it into the final drawings as the basis for mass production.
5. What Must Be Frozen After Sample Approval?
Once the sample is approved, any subsequent change to materials, structure, or electrical configuration may affect not only the quotation but also the delivery schedule and certification. The following key items should therefore be frozen at the same time.
1) Final Specification Confirmation
After sample approval, confirm the final product specifications, including product dimensions, materials, surface finishes, light source, voltage, color temperature, dimming method, installation structure, and packaging solution. Ensure that the production drawings remain consistent with the approved sample. Any specification change should be reviewed again to determine whether it affects pricing or lead time.
2) Revision Records and Version Confirmation
All comments and changes generated during sample review should be consolidated into one Revision List and reflected in the drawings, BOM, specification sheet, and renderings, rather than being confirmed only through emails or chat records. Update the revision number after every modification to prevent the factory from continuing production based on an outdated version.
For engineering projects, the final signed drawing should normally serve as the sole production reference to avoid manufacturing errors caused by multiple document versions circulating at the same time.
3) Sample Approval
Sample approval confirms more than whether the product can proceed to production. It also defines the acceptance standard for future mass-produced fixtures. At approval, confirm the following items at the same time:
- Appearance and dimensions meet the final requirements;
• Materials, colors, and surface finishes match the approved samples;
• Light source, voltage, color temperature, and dimming method are correct;
• Installation structure and accessories are complete;
• Packaging method meets transportation requirements.
Retain one approved Golden Sample as the unified reference for subsequent mass production, inspection, and after-sales comparison. Also retain multi-angle detail photos, powered-on lighting photos, workmanship details, and test data reports. If a quality dispute occurs later, the approved sample should serve as the basis for evaluation.
4) Final Confirmation Before Mass Production
Before formal mass production, the manufacturer should submit the final Production Package for confirmation. This should include production drawings, BOM, material list, surface finish requirements, packaging solution, and label information.
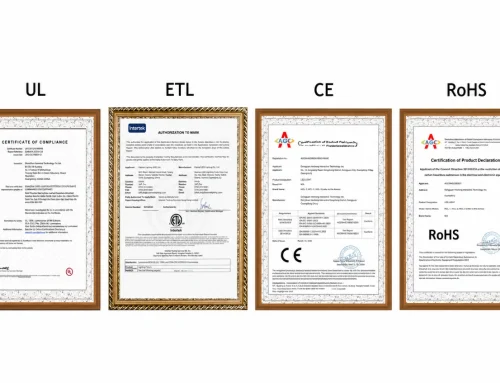
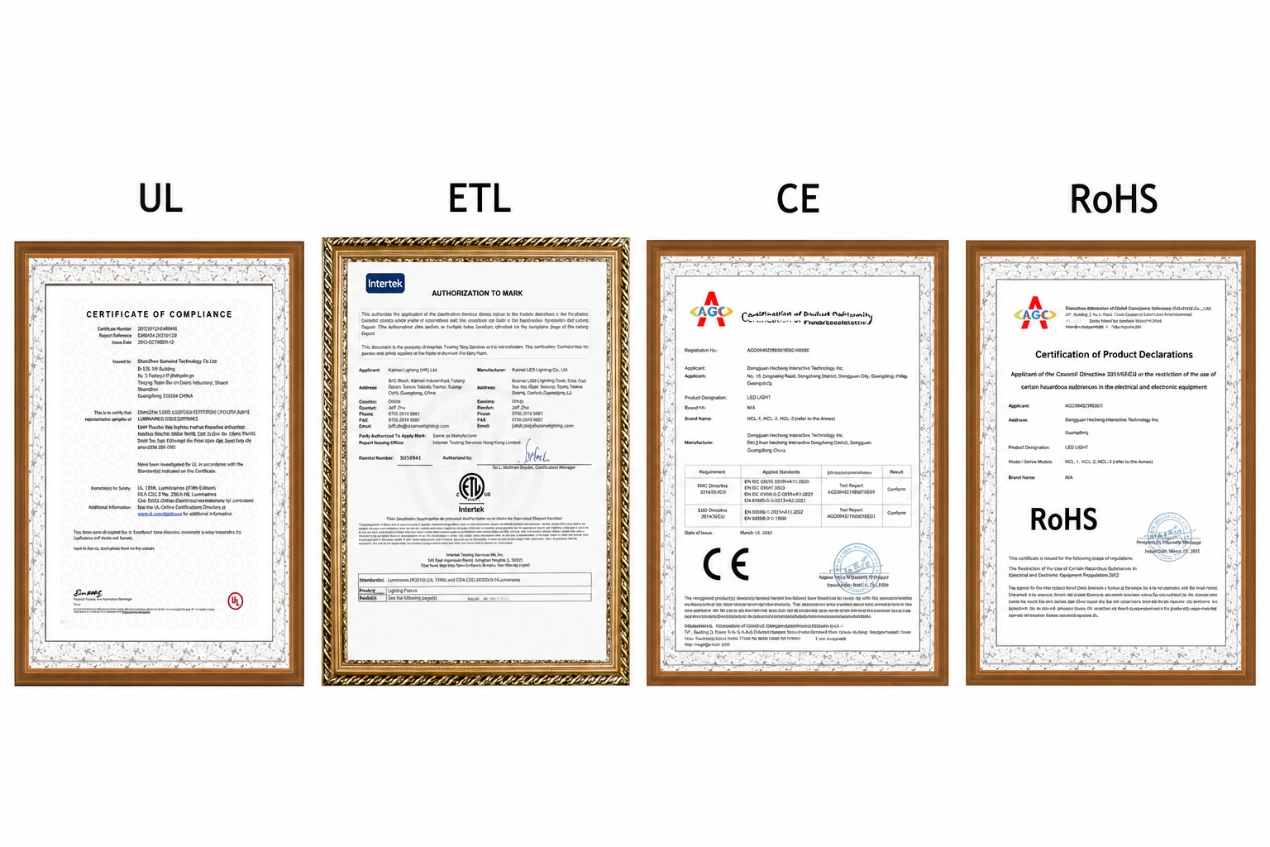
For export projects, also confirm certification marks, nameplate information, instruction manuals, outer carton labels, and shipping marks to avoid rework caused by documentation or labeling errors after production is complete.
Mass production should begin only after the product specifications, production documents, and packaging information have all been fully confirmed. This normally reduces subsequent changes, delivery delays, and quality disputes.
6. Case Study: How to Complete a Full Decorative Lighting Sample Review
This case involves a 1200 mm ring-shaped decorative chandelier for a hotel lobby and covers the complete process from sample receipt and full-dimensional inspection to corrective action and final sample approval and filing.
1) Basic Project Information
Project application: interior lobby of a five-star hotel, high-end commercial lighting. Required specification: 304 stainless steel main structure, black powder-coated finish, 3000K high-CRI warm light, smooth 0–10V dimming, silent and flicker-free operation, and a heavy-duty suspension structure with independent safety retention. Prototyping requirement: one full-size 1:1 physical sample, with the complete configuration matching the intended mass-production standard.
2) First-Round Sample Receipt and Item-by-Item Review
The review team, including design, engineering, and procurement, completed a full inspection under standard lighting conditions and at a simulated on-site installation height of 3.8 m. According to the approved sample acceptance criteria for this project, the same-batch finish color difference had to be ΔE ≤ 1.5, joint gaps ≤ 0.5 mm, and color temperature 3000K ± 50K. The first inspection identified four nonconforming items:
a) Appearance and workmanship: Minor pinholes were found in localized areas of the powder-coated surface. The same-batch color difference measured ΔE = 2.2, exceeding the acceptance limit of ≤ 1.5.
b) Structural details: The maximum joint gap measured 0.8 mm, exceeding the 0.5 mm limit, with slight local misalignment between adjoining sections.
c) Optical performance: The measured color temperature was 3060K, outside the specified tolerance, and minor dark areas were visible in localized sections of the luminous surface.
d) Safety details: The sample included only the primary suspension rods and did not have an independent stainless-steel safety cable, so it did not meet the safety requirements for a heavy-duty fixture.
3) Targeted Corrective Action and Second Sample Verification
A written corrective action list was issued for the first-round findings, and the factory revised the sample item by item. The corrective work included recoating the finish, calibrating color consistency using materials from the same batch, precisely adjusting the joint structure, replacing the LED modules with units from the same batch and with tighter color tolerance, and adding an independent load-bearing safety retention system. After the revised sample was completed, the team carried out a second verification:
a) Appearance: No pinholes or coating loss were found. Color difference measured ΔE = 1.2, and the surface showed no obvious pinholes or exposed substrate.
b) Structure: Joint gaps were uniform and ≤ 0.4 mm, with no misalignment or deformation. Mounting hole positions matched the approved embedded mounting dimension drawing.
c) Optical performance: Color temperature measured 3020K, CRI reached Ra = 93, and the fixture showed no flicker or dark areas. Illuminance uniformity met the project requirement.
d) Electrical performance: 0–10V dimming remained smooth throughout the full range with no instability. The driver provided isolated electrical safety, with no abnormal current-related noise.
e) Safety: The independent safety retention structure was complete, and the fixture passed static load verification in accordance with the load test plan approved for the project.
4) Final Sample Approval, Documentation, and Production Lock
After all sample acceptance criteria were met, the three parties signed off and sealed the approved sample. The complete project records were archived at the same time, including the retained physical sample, multi-angle detail photographs, dimensional parameter sheets, material and workmanship specifications, optical test reports, safety test records, and the corrective-action acceptance checklist.
7. Need a Decorative Lighting Sample?
Whether you currently have only product images or design sketches, or already have CAD drawings, 3D models, a Lighting Schedule, or BOQ, Postmodern Lighting can develop a suitable sampling plan according to the project stage and assist in evaluating whether the product structure, materials, surface finishes, electrical configuration, and installation method are suitable for mass production.