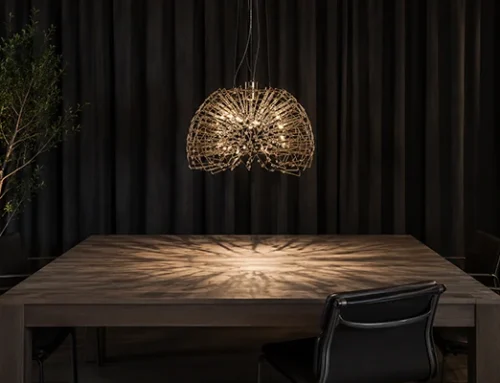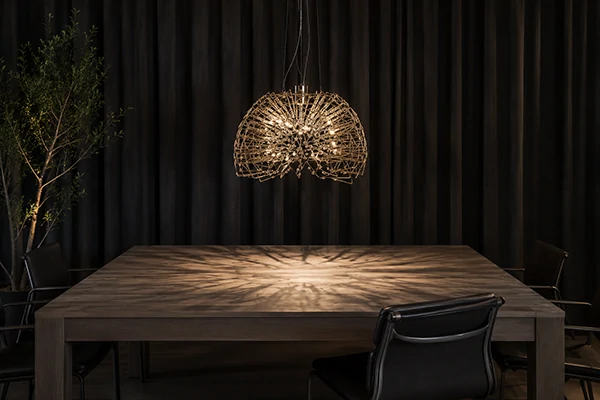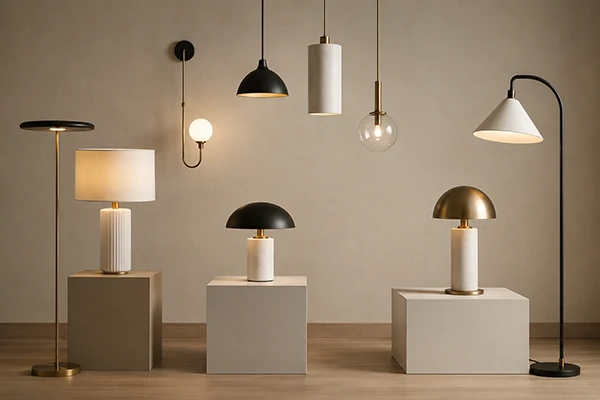
Quality issues in decorative lighting can arise at different stages, including drawing approval, material procurement, component processing, finish work, electrical assembly, packaging, and transportation. Quality control should therefore start with drawing and sample approval before mass production and continue through incoming inspection, processing, assembly, testing, and final shipment.
This article follows the actual production sequence and explains the inspection methods for pre-production standards, IQC, IPQC, finish, complete fixture assembly, electrical testing, PSI, and common defects.
1. How Do You Establish Quality Standards for Decorative Lighting Before Mass Production?
Before mass production, define the product specifications, approved samples, and acceptance methods so that IQC, production inspection, and PSI all follow the same criteria.
1) Confirm the Final Drawing, Specification, and BOM
Before mass production, confirm at least the Final Drawing, BOM, Material Specification, Electrical Specification, and Packaging Requirement, and identify the Revision Number. For example, if the drawing specifies 1.5 mm brass while the BOM states 1.2 mm, or the sample uses Brand A Driver while the purchasing BOM only states “Dimmable Driver,” inspectors cannot determine which version to follow.
2) Establish the Golden Sample and Finish Sample
Use the Golden Sample to confirm the overall form, assembly, and final appearance, and use the Finish Sample to control color, texture, and gloss. For products such as Antique Brass, Brushed Bronze, hand-rubbed finishes, and handmade glass, avoid relying only on descriptions such as “Gold” or “Bronze.” Number and sign each approved sample and link it to the corresponding Revision.
3) Define Dimensions, Tolerances, Color Variation, and Appearance Standards
Classify dimensions by function. Critical Dimensions include mounting holes, the Canopy, glass interfaces, module connection holes, and other dimensions that directly affect installation and assembly. General Dimensions cover overall dimensions that do not affect assembly. Appearance Standards cover visual requirements such as scratches, weld marks, color variation, bubbles, and texture.
4) Establish Inspection Items, Sampling Rules, and Defect Criteria
The inspection plan should define what to inspect, when to inspect, how many units to sample, and what constitutes a rejection. For volume production, attribute sampling methods such as ANSI/ASQ Z1.4 can determine sample size and acceptance/rejection criteria based on lot size, inspection level, and AQL. Define Critical, Major, and Minor Defects in advance to avoid situations where the buyer considers an issue serious while the supplier treats it as a minor cosmetic deviation.

Decorative Lighting Factory Quality Inspection
2. How Should Incoming Materials and Purchased Components Be Inspected (IQC)?
Once raw materials and purchased components enter production, IQC mainly verifies that the actual incoming items match the BOM, drawings, and approved samples.
1) Inspect Metal Material, Thickness, and Surface Condition
Verify material certificates for brass, zinc alloy, steel, and other base materials. Measure tube and sheet thickness, and inspect raw parts for porosity, cracks, oxidation, and rust spots. For subcontracted plated or coated semi-finished parts, sample coating thickness as required by the project. The coating thickness criteria should correspond to the specific base material, finish process, corrosion-resistance requirement, and project standard.
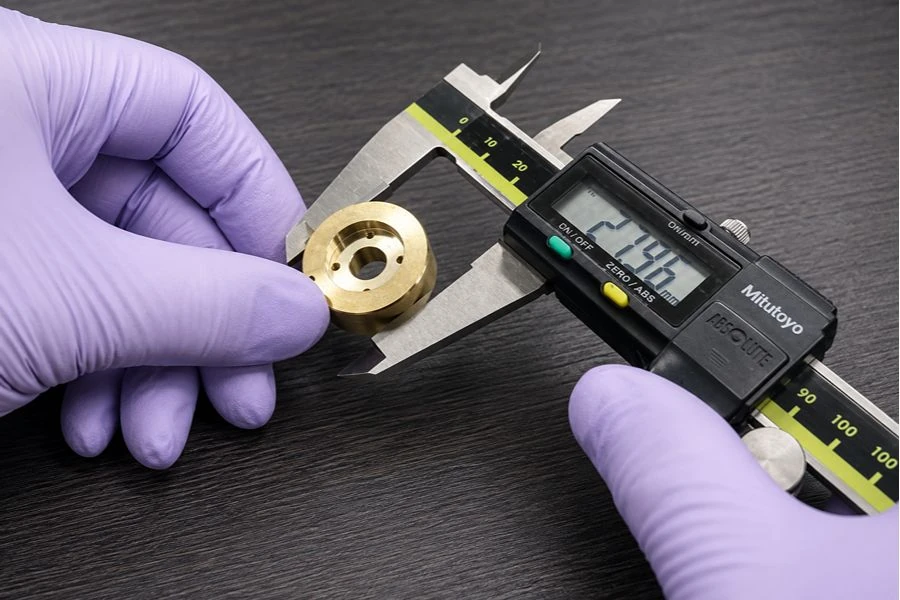
Inspection of Fixture Component Dimensions and Material Thickness
2) Inspect Dimensions, Color, and Defects of Glass, Crystal, and Stone
Inspect large decorative components piece by piece where appropriate, focusing on bubbles, chipped edges, cracks, discoloration, dimensions, and mounting interfaces. For crystal and glass from the same batch, also check color and light transmission. Evaluate stone texture and color range against the approved sample. Define tolerances separately on the drawing for critical dimensions that affect assembly or installation; these tolerances should reflect part size, processing method, and fit requirements.
3) Verify Incoming Electrical Components Such as LEDs, Drivers, Lamp Holders, and Wires
Verify that the light source and Driver brand and model match the BOM, and check CCT, CRI, power, input/output parameters, and certification information. If the project specifies acceptable ranges for CCT, luminous flux, or other parameters, IQC should inspect them against the applicable Specification. For North American UL and European CE projects, also verify that key components such as wires, Drivers, and lamp holders match the certification configuration of the final product.
4) Inspect and Manage Batches of Fasteners, Suspension Parts, and Other Critical Purchased Components
For load-bearing screws, suspension chains, steel cables, Canopies, and similar parts, focus on specifications, surface condition, and structural deformation. Manage suspension components that carry the full fixture weight separately from ordinary decorative screws. Where necessary, retain supplier, batch, and inspection records for traceability of structural issues. Batch records for purchased parts can link each item to its manufacturer, receipt date, and inspection record, while also helping control material and finish differences between batches within the same project.
3. How Do You Control Quality During Component Processing (IPQC)?
After incoming inspection confirms that materials and purchased components meet requirements, control dimensions, structural features, and assembly datums during processing to prevent defects from reaching the finish and final assembly stages.
1) Castings: Check Porosity, Shrinkage Cavities, Sand Holes, and Deformation
Common casting defects include porosity, shrinkage cavities, sand holes, deformation, and dimensional deviation. Small pores in decorative parts that require polishing and plating may become more visible after those processes, so screen them out before finish work.
2) Sheet Metal, CNC, and Bent-Tube Parts: Control Assembly Datums
Key checks include dimensions, hole spacing, angles, concentricity, bend radius, and locating holes. Dimensions that directly affect later assembly should be classified as Critical Dimensions. For example, on an eight-arm chandelier, a slight angular deviation at each connection hole may not be obvious on an individual part, but accumulated errors after assembly can make the complete fixture visibly asymmetric.
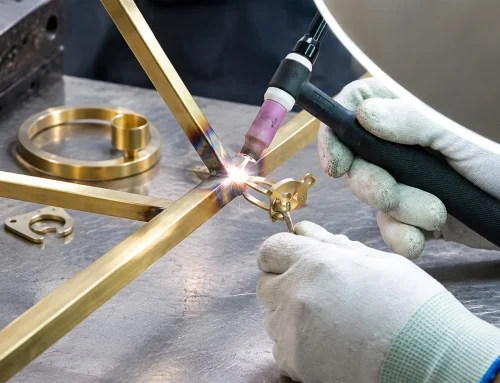
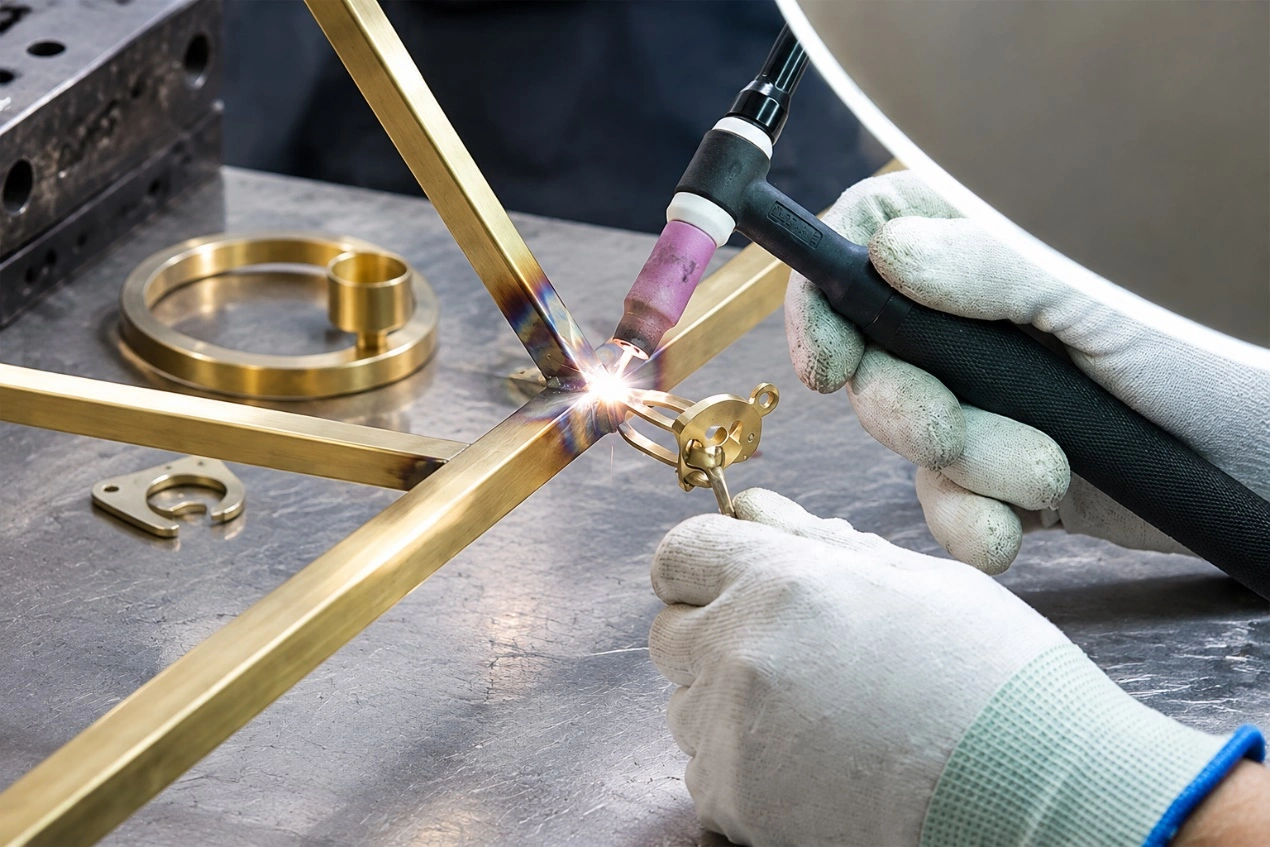
3) Welded Structures: Check Both Weld Quality and Overall Deformation
In addition to incomplete welds, missed welds, weld buildup, and burn-through, inspect overall deformation, angles, and symmetry after welding. Large ring fixtures are prone to thermal distortion. After welding, check overall roundness and structural dimensions before grinding and finish work. This reduces surface rework caused by reshaping or repair welding after the finish has been completed.
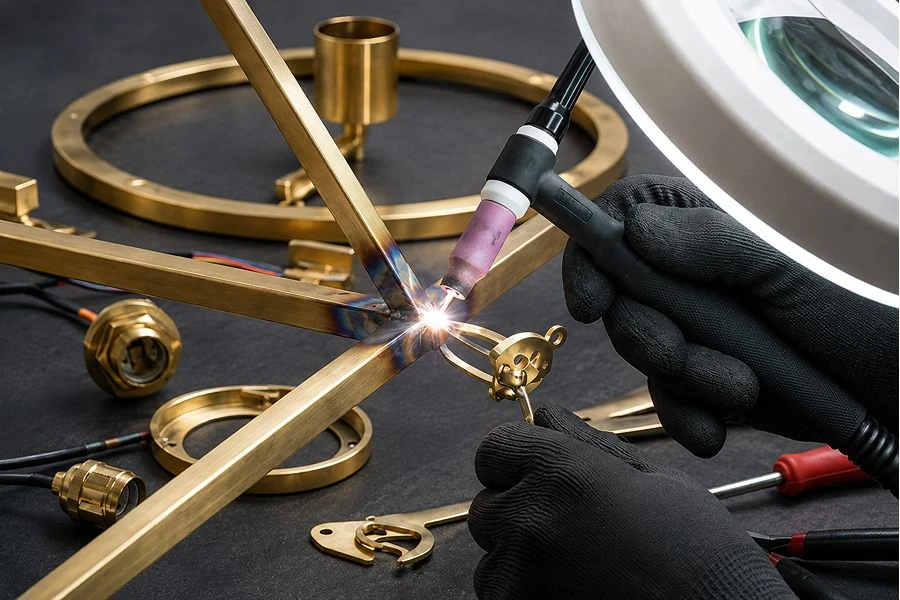
Component Processing and Welding Quality
4) Glass, Stone, and Crystal Processing
Focus on cut dimensions, hole positions, edge treatment, and mounting interfaces. If glass hole positions deviate after the corresponding metal mounting parts have already been completed, the glass and metal parts may no longer assemble correctly.
5) Confirm Critical Dimensions Before Finish
Follow the sequence Metalwork Complete → Trial Assembly → Critical Dimension Check → Finish. Confirm hole positions, structure, and assembly relationships before plating, PVD, painting, or other finish processes. Drilling, welding, or reworking after the finish is complete increases rework and can damage the finished surface.
4. How Do You Control the Quality of Surface Finishes and Decorative Effects?
After component processing is complete and critical dimensions are confirmed, control the surface finish and final visual effect. This stage affects not only appearance but also consistency between production batches.
1) What Should Be Checked for Plating, PVD, Coating, and Painting?
Common defects include color variation, scratches, pitting, pinholes, runs, exposed substrate, blistering, peeling, and uneven plating. During inspection, place adjacent parts from the same fixture together for comparison.
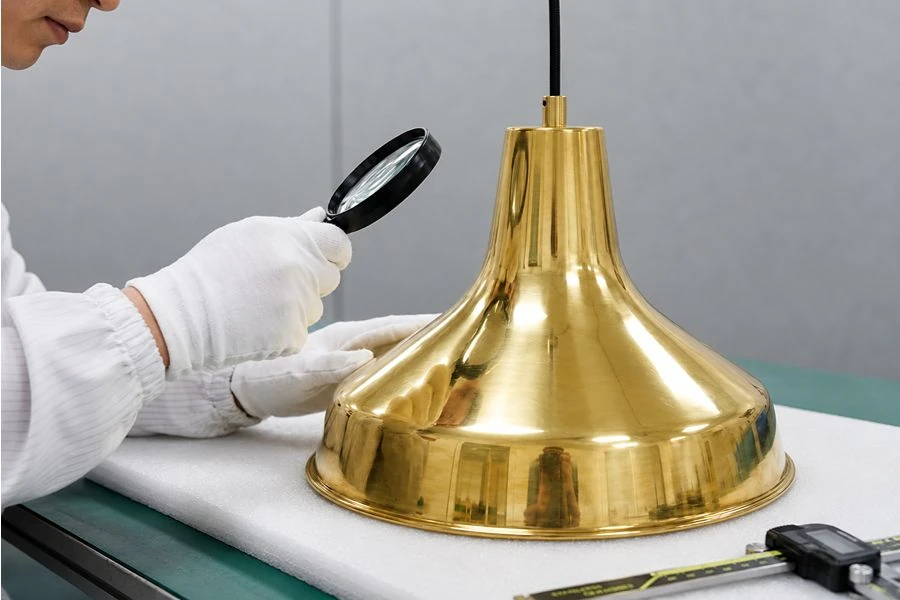
Surface Quality Inspection After Coating
2) Use the Finish Sample to Control Color, Texture, and Gloss
The Finish Sample should use the same Base Material + Surface Preparation + Finish Process as mass production. For example, an Antique Brass finish approved on a brass sample should not be used directly as the acceptance sample for the same named finish on steel, because different substrates and pretreatments can produce different final colors and textures.
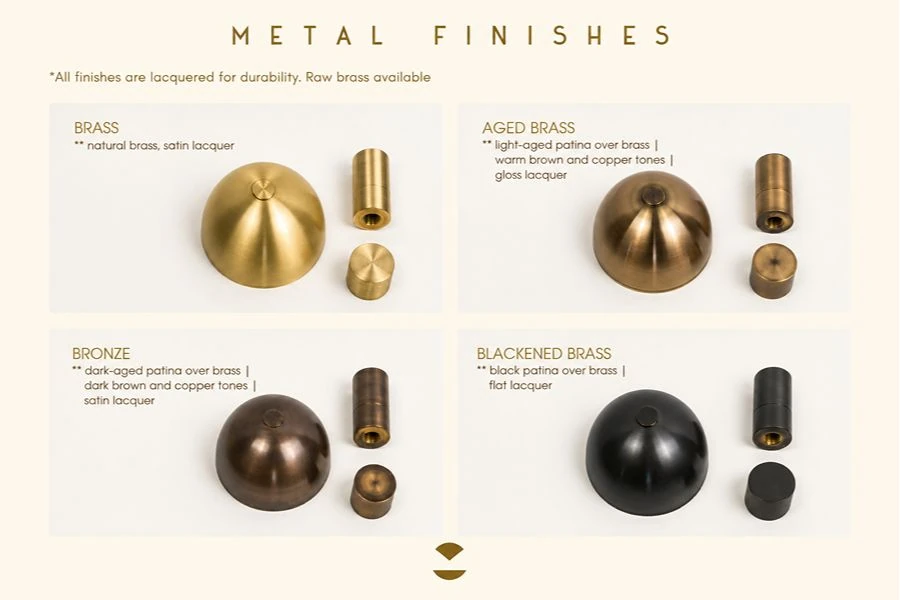
Comparison of Different Finish Samples
3) How Should Appearance Defects Be Evaluated?
Appearance standards should define the viewing distance + lighting conditions + visible-surface grade + defect type. The primary front-facing visual area and a backplate that is completely hidden after installation may use different appearance grades.
4) How Should Acceptable Variation in Hand-Applied Finishes Be Defined?
Processes such as Antique, Patina, and Hand-brushed finishes naturally produce some variation. During acceptance, compare the color, light/dark range, texture, and overall visual range established by the approved sample. Each piece does not need to look identical like a machine-printed surface.
5) How Do You Control Consistency Between Production Batches?
Hotel projects may be produced in several batches. Retain the Master Finish Sample + Finish Formula/Process Record + Batch Sample. Compare each subsequent batch with the Master Sample before approving the production Finish.
5. What Should Be Inspected During Complete Fixture Assembly?
Complete fixture assembly brings together dimensional and process deviations from earlier component stages. Inspection should mainly cover overall geometry, connection structures, decorative components, and electrical assembly.
1) Check Overall Dimensions, Arm Angles, Level, and Symmetry
After assembly, recheck the overall fixture diameter, height, and suspension rod length. For multi-arm fixtures, check arm angles, level, and overall symmetry. A slight deviation in one arm may not be obvious, but several arms assembled together can create a noticeable overall tilt or asymmetry.
2) Check Suspension Rods, Steel Cables, Screws, and Structural Connectors
Check that fasteners are correctly installed, load-bearing component specifications match the drawings, and steel-cable tension, suspension-rod orientation, and concealed connectors are correct. Missing, incorrect, or insufficiently tightened parts can loosen further under transportation vibration or long-term suspension.
3) Check Installation of Glass, Crystal, and Decorative Components
Check the quantity, position, spacing, and fixing method of glass and crystal components, as well as chipped edges, stains, scratches, and looseness. For large quantities of repeated decorative parts, use numbered drawings to control installation positions.
4) Check Wire Routing, Connections, and Internal Electrical Assembly
Route internal wiring to prevent pinching and insulation damage. Check terminal tightness, polarity, and grounding connections, and keep wires away from sharp edges and high-temperature areas. Also inspect the fixing condition of Drivers, terminals, and other electrical components.
5) Factory Pre-Assembly and Installation Fit Check for Large Chandeliers
For large custom chandeliers, pre-assemble the complete fixture or key modules at the factory to check the overall form, module interfaces, mounting holes, and site installation sequence. At the same time, confirm that the Module Connection, Wiring Interface, and glass installation positions match. This can identify cases where individual modules meet dimensional requirements but cannot connect to each other, or where site wiring and installation sequencing are impractical.
6. What Functional and Safety Tests Are Required for Decorative Lighting?
Functional and safety testing mainly checks electrical operation, dimming compatibility, insulation and grounding, and the structural safety of large fixtures. Retain the required test records based on the target market and project requirements.
1) Electrical Function Tests
Power-on test: Inspect finished products under the project quality plan. Energize each fixture and check operating status, obvious color differences, abnormal brightness, dead LEDs, and visible flicker. Verify optical parameters such as CCT and CRI by sampling or dedicated test equipment as required by the project.
Dimming compatibility test: Test with the dimmer actually specified for the project, including Triac, 0–10V, DALI, and other systems. Check for flicker, instability, or abnormal startup during dimming. Confirming the Driver model alone does not replace system compatibility testing; the actual fixture load and control equipment must also be included.
Input voltage test: Simulate the applicable input voltage for the project market, such as 120V in North America or 230V in Europe, and confirm that the Driver and complete fixture operate normally.
2) Safety Performance Tests
Insulation resistance and dielectric withstand test (Hi-pot): Determine test conditions from the product certification and applicable standards. For example, North American UL projects and European CE/LVD projects should follow their respective requirements to verify that the product insulation system meets the specified dielectric withstand and insulation requirements.
Ground continuity test: For metal-enclosure fixtures that require protective grounding, confirm a reliable grounding path between the enclosure, Canopy, and related metal structures in accordance with the applicable certification requirements. For custom chandeliers, also check for missing or loose Canopy grounding screws and poor electrical contact.
Mechanical load/suspension test: For heavier chandeliers, define static load test conditions based on the product structure, project requirements, and applicable standards. Check suspension chains, rods, Canopy, suspension points, and connection structures for deformation, cracking, or loosening.
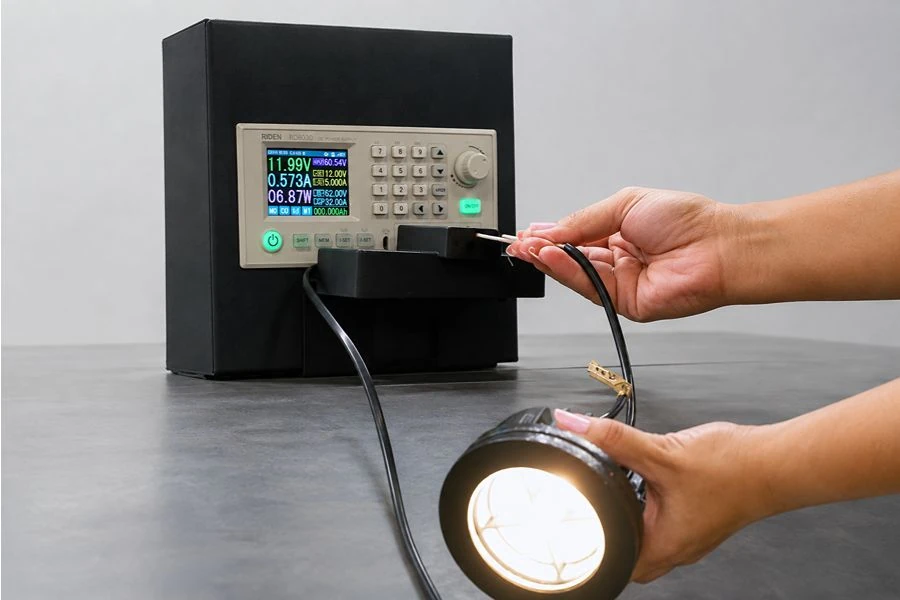
Fixture Electrical Function and Safety Testing
3) Environmental Reliability Tests
Environmental reliability tests may be sampled according to the project environment and product requirements.
Salt spray test: For coastal, high-humidity, or higher-corrosion-resistance projects, define the NSS neutral salt spray test duration according to project requirements and check for oxidation, blistering, coating delamination, and similar defects.
Aging test: Perform continuous lighting aging according to project quality requirements and observe whether the LED, Driver, or complete fixture develops dead LEDs, Driver failure, or abnormal discoloration.
Vibration simulation test: For high-value or large chandeliers, add vibration simulation testing as appropriate for the transportation method to check whether shipping vibration can loosen wiring, hardware connections, or other components.
4) Verify Documents and Certificates
Before shipment, verify certificate models, key electrical components, and the actual product configuration to confirm that the shipped product falls within the certification scope. Do not substitute certification documents from another model for the current product, as this may affect customs clearance and project acceptance.
7. How Should Final Inspection and Pre-Shipment Quality Control Be Performed?
At the PSI stage, mainly verify that finished products match the approved samples, final drawings, BOM, and order requirements, while also checking packaging and documentation.
1) Final Comparison of Finished Products Against the Golden Sample, Drawings, and Specifications
Inspect each model for dimensions, form, Finish, assembly, and optical effect, and compare it with the Golden Sample, Finish Sample, and final Revision. Where deviations exist, use the Defect Classification to determine rework, remanufacture, or Deviation Approval.
2) Verify Dimensions, Quantity, Accessories, Labels, and Installation Hardware
Recheck product quantity, model, and Fixture ID, and inspect mounting screws, clips, instructions, and spare parts. Product labels, certification numbers, and parameters should match the actual product and related documents to prevent model or documentation discrepancies after shipment.
3) How Is AQL Sampling Inspection Applied to Decorative Lighting?
For standardized stock fixtures, sampling standards such as AQL 1.0 may be used according to lot size and quality requirements. Determine the actual sample size and Ac/Re criteria based on Lot Size, Inspection Level, and the applicable sampling standard. For small quantities of large custom chandeliers, critical structures, suspension connections, and electrical safety items should not rely only on AQL sampling; inspect them according to project requirements.
4) How Are Critical, Major, and Minor Defects Classified?
Critical Defects include safety or compliance issues such as electric-shock hazards, load-bearing structural problems, and incorrect certification configurations. Major Defects include functional failures, obvious Finish errors, critical dimensions outside tolerance, and conditions that prevent installation. Minor Defects are appearance issues with limited impact on function and overall visual effect. Define the acceptance, rework, and release conditions for each defect level in the inspection plan in advance.
5) Check Packaging and Transportation Protection
Provide separate cushioning protection for crystal and glass parts, and add scratch protection to finished hardware. Disassemble and number large fixtures according to their structure. For modular large chandeliers, establish a Fixture ID → Module ID → Crate ID relationship so site receiving teams can match each crate directly to the correct fixture, module, and installation drawing. For export orders packed in wooden crates, also inspect internal fixing, cushioning, and crate construction.
6) Which Quality Issues Must Be Resolved Before Shipment Approval?
Issues involving electrical safety, structural load bearing, incorrect product configuration, severe Finish deviation, dimensions that prevent installation, missing accessories, or unacceptable packaging structure must be corrected and re-inspected before release. Minor appearance deviations may be handled through a mutually approved Deviation Approval.
8. What Are the Most Common Decorative Lighting Quality Defects and Their Causes?
Common defects can help trace the production stage where a problem originated. The following summarizes them by appearance, structure, electrical performance, and batch consistency.
1) Appearance and Finish Defects
a. Plating blistering, blackening, or rapid oxidation
Common causes include inadequate metal pretreatment, nonconforming coating thickness or quality, unstable plating-process control, or a mismatch between the project environment and the finish protection level. For corrosive environments such as coastal areas, define the required corrosion resistance and salt spray criteria during the project stage and inspect them by batch.
b. Batch-to-batch color variation
When plating or coating is performed in separate batches, differences in pretreatment and process parameters can create color variation. For volume projects such as hotels, arrange the same finish batch where practical and retain a Master Finish Sample or batch sample for comparison.
c. Surface scratches and impact marks
These issues may occur during assembly, internal factory handling, or transportation. Protect finished hardware surfaces after Finish, and provide separate protection and packaging for fragile glass and crystal components.
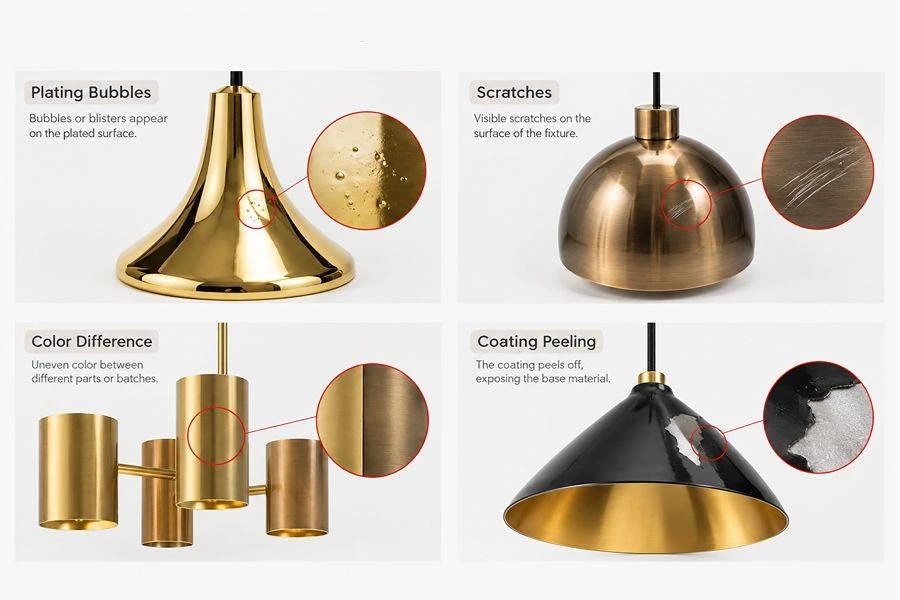
Appearance and Finish Defects
2) Mechanical and Structural Defects
a. Suspension point, chain weld, and connection problems
Incomplete welds, cracks, or insecure connections at suspension points directly affect installation safety. During welding, use IPQC to inspect critical welds and perform the required structural verification on load-bearing components according to the product structure and project requirements.
b. Dimensional deviation and inconsistent suspension-rod lengths
Common causes include failure to confirm first-piece dimensions, inconsistent machining datums, or changes in production tolerances. Use FAI to confirm first-piece dimensions, continue sampling during production, and recheck consistency between products before shipment.
c. Chipped or broken crystal and glass
These defects may originate from incoming materials, processing, assembly, or transportation. Screen out obvious defects during IQC, control the installation method during assembly, and add separate cushioning protection during transportation.
3) Electrical Safety and Functional Defects
a. Dead LEDs, flicker, and early Driver failure
Check the LEDs and Driver, heat-dissipation structure, and wiring quality. Lock the critical electrical components in the BOM before mass production, then perform power-on and applicable aging checks at the finished-product stage.
b. Abnormal dimming or flicker
If the Driver and dimmer are incompatible, the installed system may show flicker, insufficient dimming range, or abnormal startup. During the sample stage, test with the actual dimming equipment specified for the project, and use the same configuration for mass-production inspection.
c. Missing grounding and insulation problems
If the electrical structure is not updated after a custom design change, or grounding components are omitted during assembly, safety and certification issues may result. Perform Hi-pot, ground continuity, and other required checks according to project requirements, and verify the certification documents against the actual product configuration.
4) Batch Consistency Issues
A common situation is that the approved sample is acceptable, but mass-produced fixtures differ from it in Finish, materials, or electrical configuration. Typical causes include failure to fully lock the Golden Sample and BOM, material or subcontracted process changes during mass production, and modifications that were not formally recorded.
9. Conclusion
Decorative lighting quality control must connect the drawings, BOM, approved samples, production process, and final acceptance. For highly customized projects, inspect not only appearance but also structure, electrical requirements, and site installation conditions. Clearly define the Final Drawing, Golden Sample, Finish Sample, BOM, and inspection standards at the front end, then use IQC, IPQC, and assembly inspection to address deviations during production and reduce problems.
Postmodern Lighting can support hotels, commercial spaces, and custom lighting projects from drawing development, sample approval, and material and Finish control through production inspection, functional testing, and pre-shipment quality management. Specific inspection items and acceptance criteria can be defined according to the product structure, target market, and project Specification. Contact us for a decorative lighting quality-control and custom-production solution suited to your project.